If you are new to the field of photography, choosing which gear to invest in can be tricky, especially if you aren’t yet sure how you will use it all. Unfamiliar equipment names and technology jargon can be intimidating. But putting together a beginner's studio can be relatively simple, and you don’t need to spend a ton of time and money selecting great gear that gets the job done. Not only that, if you’re an NYIP student, you can actually shop in a private Adorama portal, where all the gear listed on their public website is offered at a students-only discount.
To help you get started, here’s a simple list of studio lighting gear you should consider purchasing if you’d like to put together your first legitimate setup (prices reflect those offered to NYIP students shopping Adorama’s student portal).
Strobe – A studio strobe light will serve as your dedicated flash unit. Sometimes camera stores will refer to them as “monobloc” or “monolights.” These are all the same thing. This is probably the most basic, commonly-used piece of lighting equipment you can buy for a studio setup, and should definitely be the first on your list.
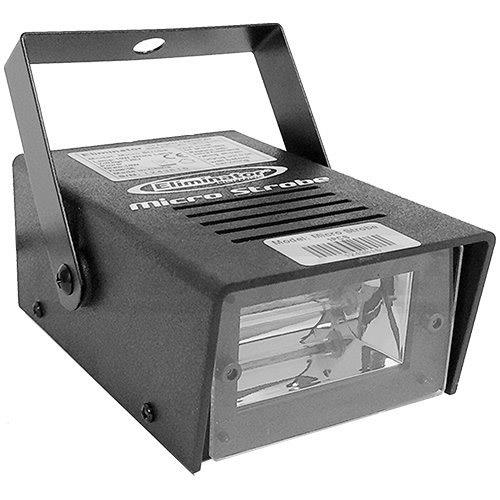
(Eliminator Micro Strobe 20W Mini Strobe with Variable Speed- $13.99)
Continuous light – Continuous lights essentially serve the same purpose as strobe lights, but they don’t actually use a flash. Continuous lights work in the way their name implies- continuously. They are high powered lamps that shine uninterrupted light on your subject. You might not need to purchase both a continuous and a strobe if you’re just putting together a beginner’s setup, so you can choose which style of lighting you prefer- a quick flash or a continuous light source- then shop accordingly.
Flashgun – Flashgun just refers to any small light that photographers place on top of their camera using a device called a “hot shoe mount.” These are convenient because they’re tiny and portable, so they’re great not only for studio work, but also on the go.
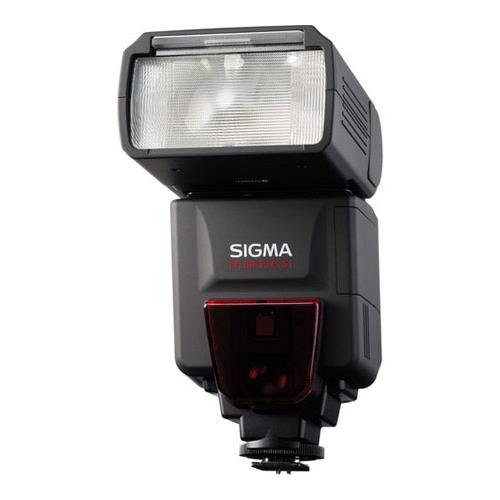
(Sigma EF-610 DG ST Shoe Mount Flash- $165.00)
Rim light – Rim lights, also sometimes called backlights, are the devices that light up your subject from behind. Using a rim light while doing studio portraiture is a great way to help prevent your subject from blending too much into the backdrop, and is therefore another piece of equipment worth adding to a beginner’s studio setup.
Hair light – Hair lights are pretty self explanatory- they help add lighting emphasis to your subject’s hair. If you’re putting together a home studio with the intention of doing lots of portraiture work, it’s worth making the investment in one of these as well. Beyond helping with hair emphasis, these lights can also be used to increase exposure on a subject’s head if you find them blending too far into the background.
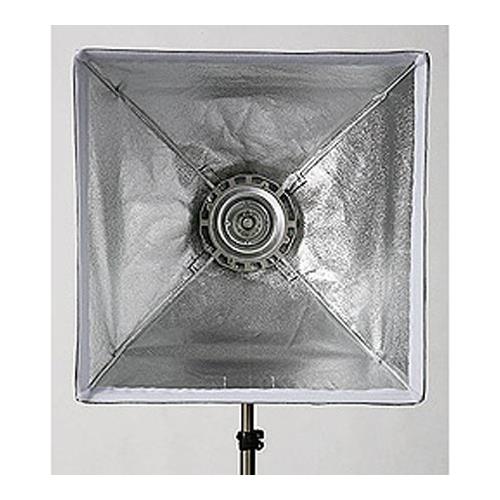
(JTL 2565 24x24" Hair Light LiteBox with Connector - $76.46)
Umbrellas – Even a complete photography amateur has probably seen an umbrella in action- but what purpose do these serve? They typically come in white and are designed to be easily attached to a strobe using a mount. By firing a strobe light into an umbrella, you wind up creating a much larger, more dispersed light source, and consequently a significantly softer-looking light.
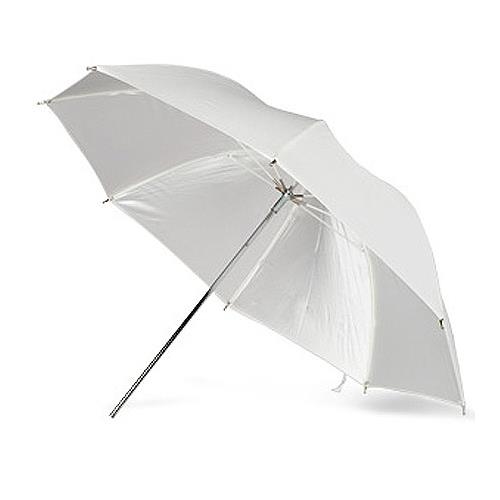
(Photoflex Umbrella White Satin 45" - $16.96)
Diving In With Your New Gear
For a beginner’s setup, those six pieces of equipment are a pretty solid start. If you’re a student of the Professional Photography Course, you’ll get comprehensive training on how to setup and use all the gear we just mentioned, plus tons of other supplementary pieces you can explore as you feel more comfortable. And if you begin to find yourself feeling overwhelmed, remember the advice of professional photographer Bruno Schreck. “If you love photography enough, the equipment will come, the portfolio will result and if you enjoy the process, success will follow. You will evolve your own formula.”

