
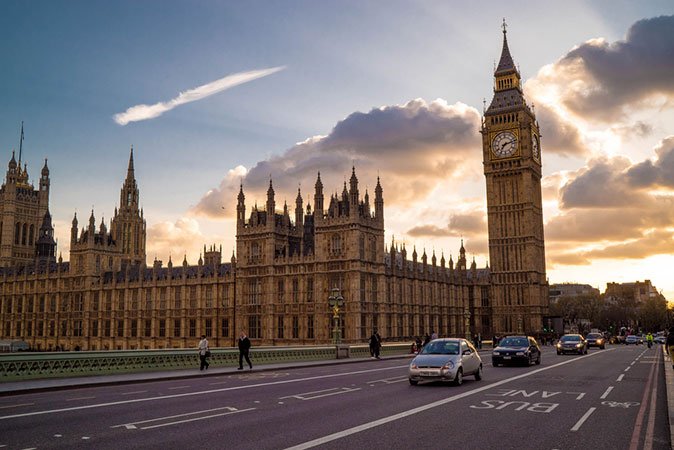

Many of our students tell us they absolutely love traveling to cities to capture awesome urban landscape shots. Crowded cities offer creative photographers so many opportunities, from pedestrian candid portraits to architectural skyline shots.
Getting started for today, here are some simple techniques and adjustments we recommend you try when shooting in a city:
Gear
For the most part, we recommend that you bring at least two lenses with you if you’re planning to spend the day in a new city capturing shots. One wide angle lens is a great option to use if you’re trying to capture a big picture of what might otherwise seem like an overwhelmingly large scene.
We also think it’s wise to bring a long zoom lens along. If you want to take pictures of any intricate architectural details on interesting buildings you find, this will be a helpful piece of gear to have handy. That longer focal length will also come in handy if you’re snapping shots of traffic zooming by on a busy street.
If you want to capture the ever-popular long exposure shot of traffic whirling by, you should also pack a tripod. Finally, don’t forget to throw some spare batteries in your bag. There’s nothing more frustrating than making a day trip solely for the purpose of capturing a large series of photos, then having to cut your visit short because your device unexpectedly ran out of battery life.
Pedestrians
Pedestrian street portraits are a super popular niche amongst urban photographers, and for good reason. If you’re going to spend the entire day exploring a new city, you will undoubtedly come across a number of interesting people worth snapping some pictures of for your portraiture collection. If you’re an amateur and you’re not used to approaching strangers for photos, you might find yourself feeling worried about seeming aggressive, but just remember that 1. It’s polite to ask first and 2. In the absolute worst case scenario, the subject could say no.
When it comes to photographing strangers, we always tell our students to simply explain to a subject that you’re a portrait photographer, then ask if they’d like to be included. If they seem hesitant or uncomfortable, don’t ask again or try to convince them. What we tend to find instead however, is that most people are eager for the chance to contribute and flattered that you want to include them in your portfolio. If the shot comes out really well, they might also appreciate if you offer to email them a free copy of their own.
Scheduling
If you’re heading to a city you’re not familiar with, we highly recommend you plan ahead. Researching your locations, plotting out a practical, direct route to take from one to another and determining a time frame will save you a lot of time, stress and missed opportunities on your big day.
If you were really hoping to capture a shot of NYC’s iconic skyline at golden hour, for example, you’ll need to make sure you’re in a conducive place to do so, and at the perfect time. If you haven’t done any research on where to best capture pictures of the skyline and how long it’ll take you to get there (plus what time the sun is going to set on the given day), you might miss the shot you had in mind.


