

Do you know how to use your camera’s white balance feature? Surprisingly, it’s a setting that many photographers overlook when exploring their new cameras. If you’re one of those people, it’s definitely worth learning more about this helpful tool, and using it to enhance the look of your images.
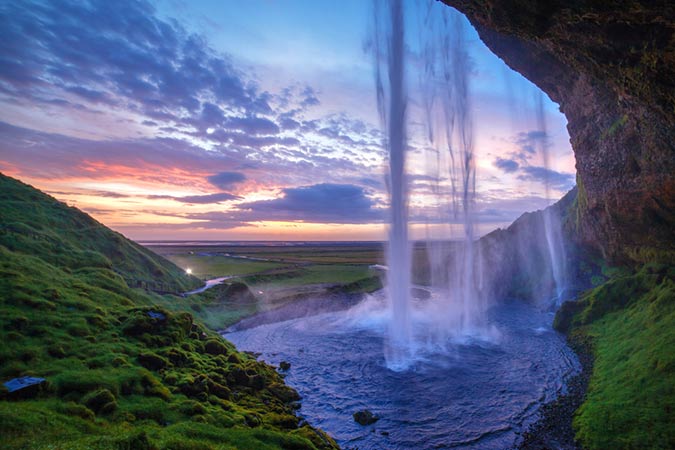
Put simply, white balance settings can be adjusted in order to get the colors in your shot to look as accurate and realistic as you possibly can. Have you ever experienced an exceptionally vibrant sunset for example, then found yourself disappointed scrolling through shots that didn’t seem to do it justice? That’s the sort of problem your white balance settings can likely solve.
Depending on the source of light with which you’re working, digital photos can often display a blue, yellow or orange-ish looking hue overlay. Most photographers are familiar with the concept of color temperature, and that’s what causes this phenomenon. Florescent lighting for example adds a blue look, while incandescent adds that yellow glow. So no matter how stunning a certain scene may have looked in real life, this reality might get lost in technology as a result of color temperature, and your device might not always be able to effectively portray the true look.
On most cameras, you can find an auto white balance setting. If you work using this tool, your device will automatically make its best guess as far as adjusting internally to accommodate lighting temperature and will try its best to capture the most lifelike looking shot. In most situations, this is a great tool to use and your device’s internal decision-making processes are generally super helpful and accurate.
Beyond that, you could try Tungsten, a setting usually represented by a little bulb symbol on your camera. This setting works best for indoor shoots, especially if the room you’re in has incandescent bulb lighting, because it cools down the colors that would otherwise appear too warm in your image.
On the contrary, if you’re working with fluorescent lighting as your source, consider switching into Fluorescent mode. It will compensate in the opposite direction, warming up hues that may otherwise look blueish or washed.


